Sugar Cakes Recipe
/
My bees now have both winter protein in winter pollen patties as well as sugar cakes for winter food. (Photo by Charlotte Ekker Wiggins)
Winter Bee Feeding
When I first started beekeeping, the more experienced beekeepers only talked about using sugar - mush bags, sugar cakes, candy boards - all carbs for winter supplemental feeding. I understood the concept, that this was to supplement stored honey supplies in case bees ran out mid-winter.
However, even honey, real honey, contains pollen, which is a protein source, or food for bees. More specifically, nurse bees need protein to trigger their glands to produce royal jelly so they can feed bee larvae. Studies show that under-nourished bee larvae grow up to be unhealthy bees. With the other bee stressors including pesticides, pathogens and poor foraging areas, good nutrition has become a priority in my apiary.
For two winters now I have been feeding my winter bees both sugar cakes and winter protein pollen patties in addition to giving the a medium super full of honey at the beginning of fall, then replacing empty honey frames with more frames of honey end of November. At this point in a relatively mild winter, all of my colonies are now in the top box showing very healthy colony numbers on warm days so I worry less about them pulling through winter because the cluster is too small.
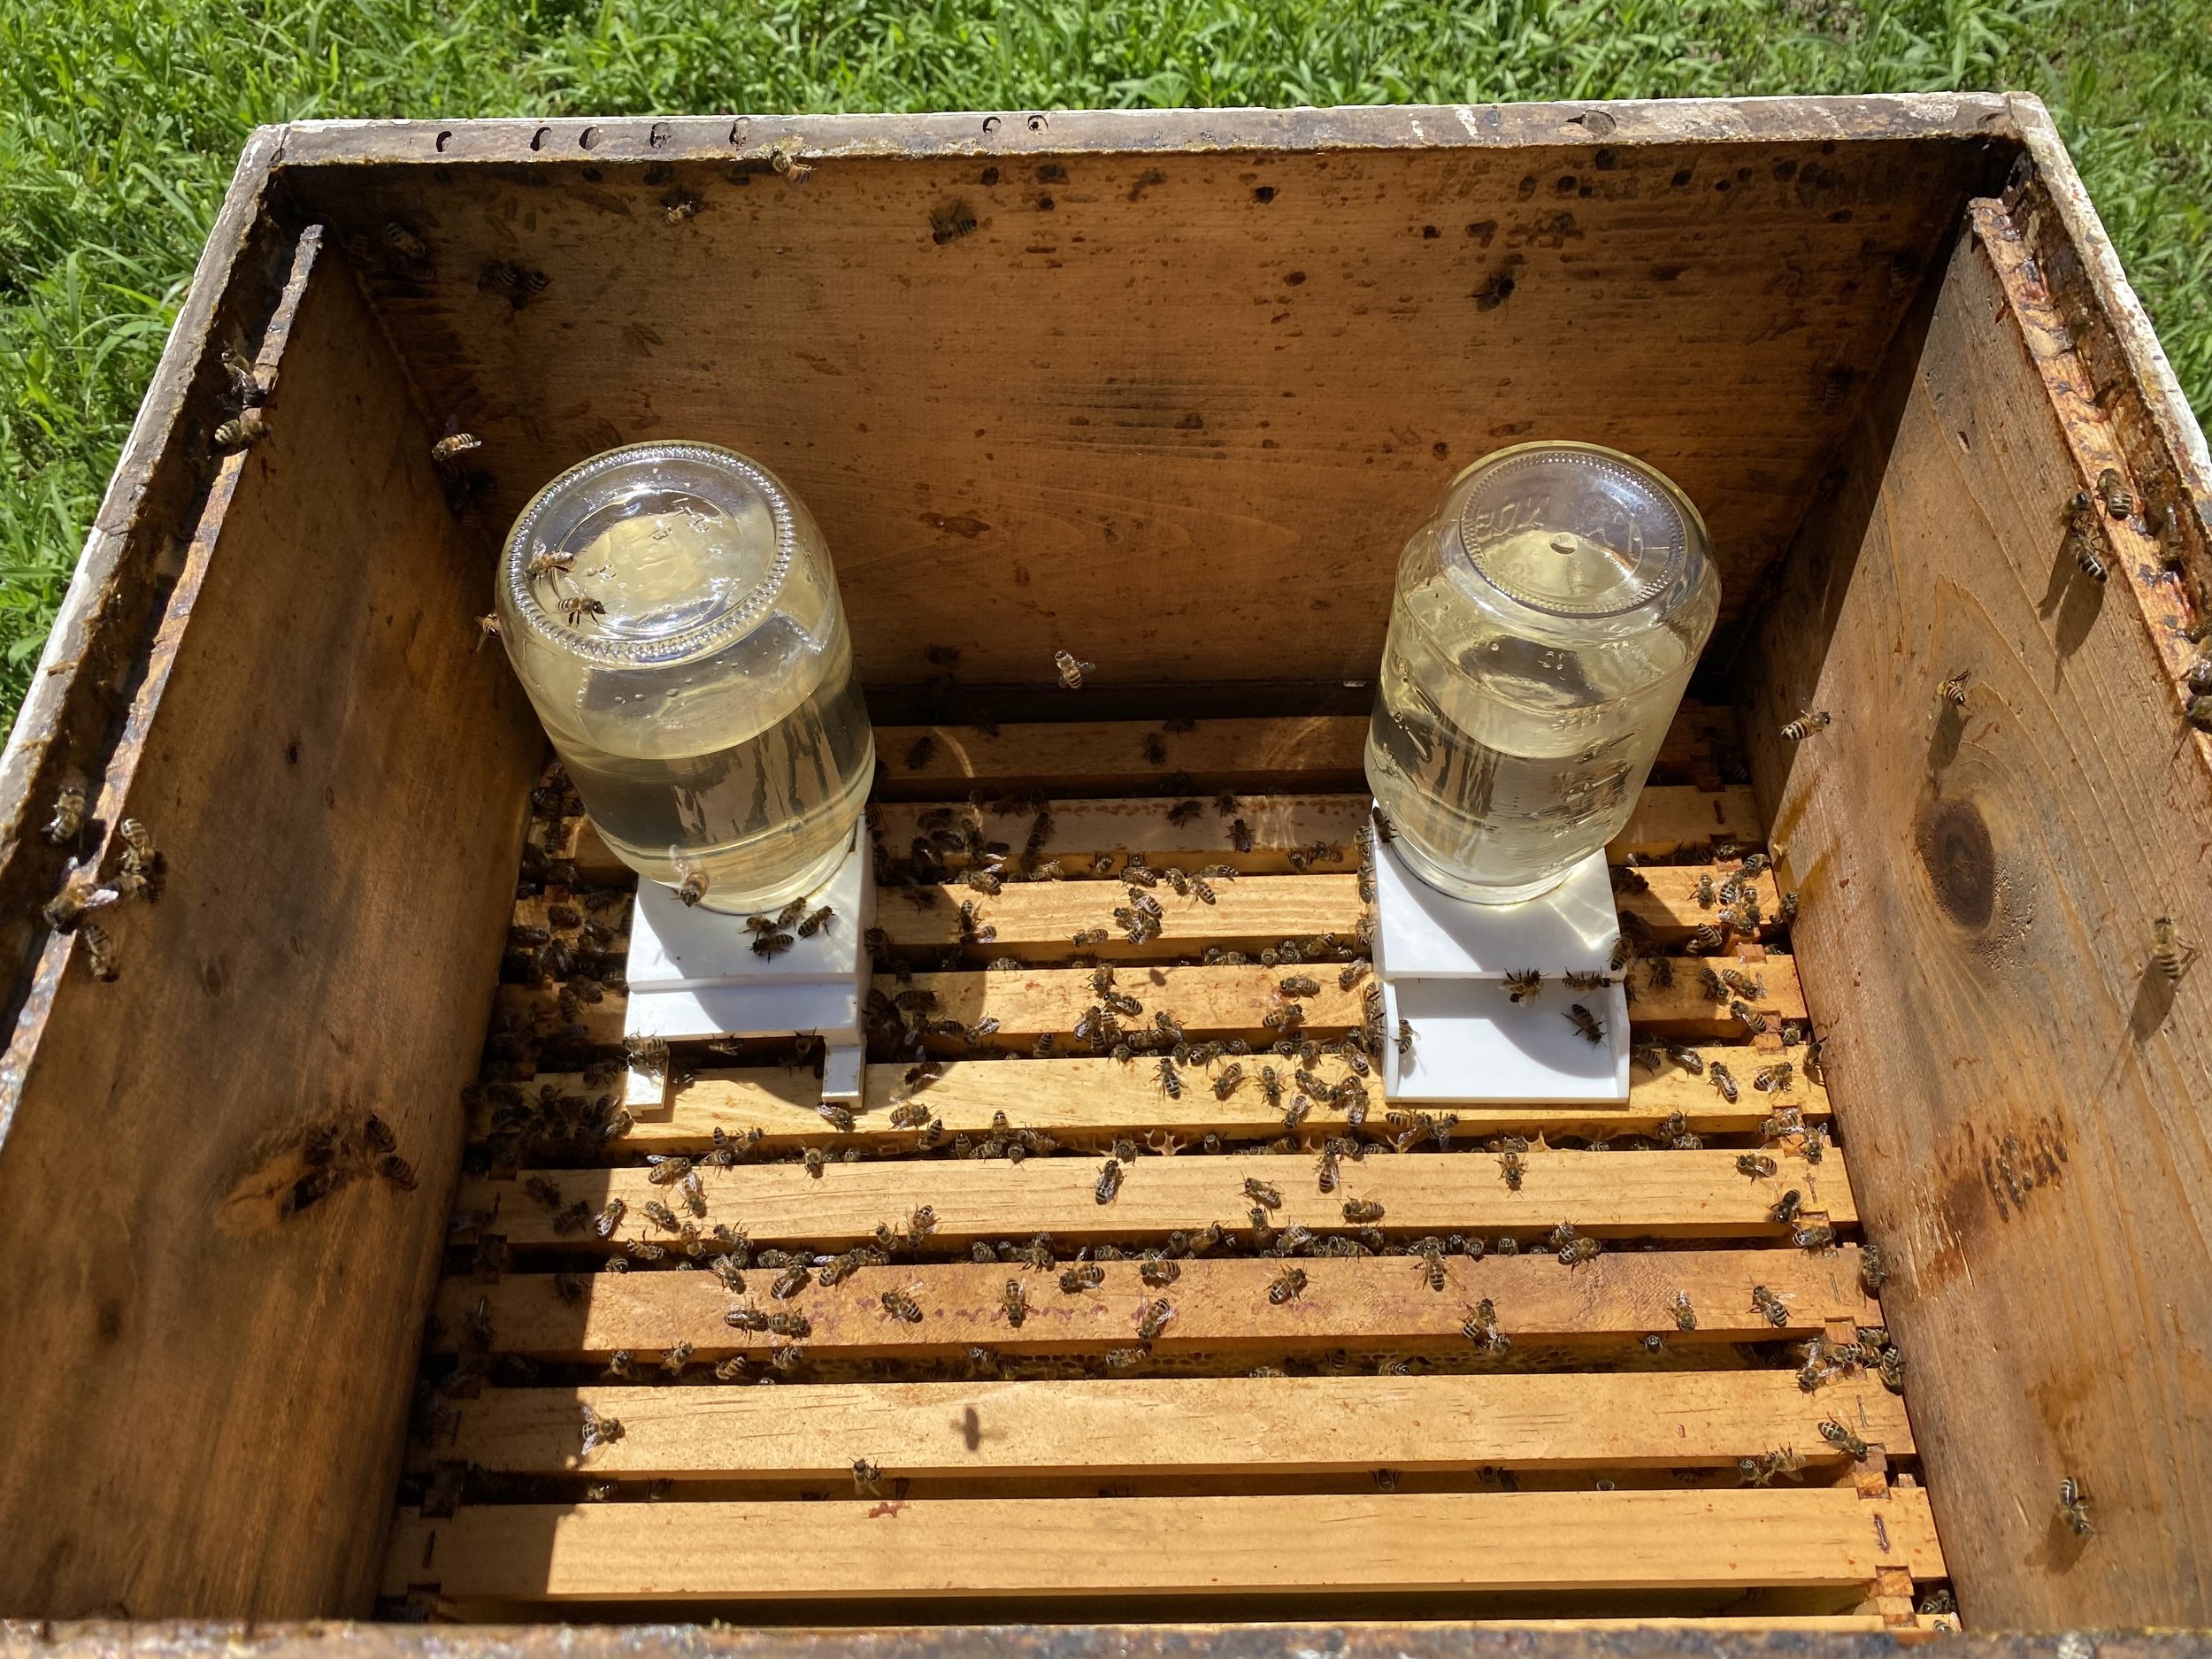
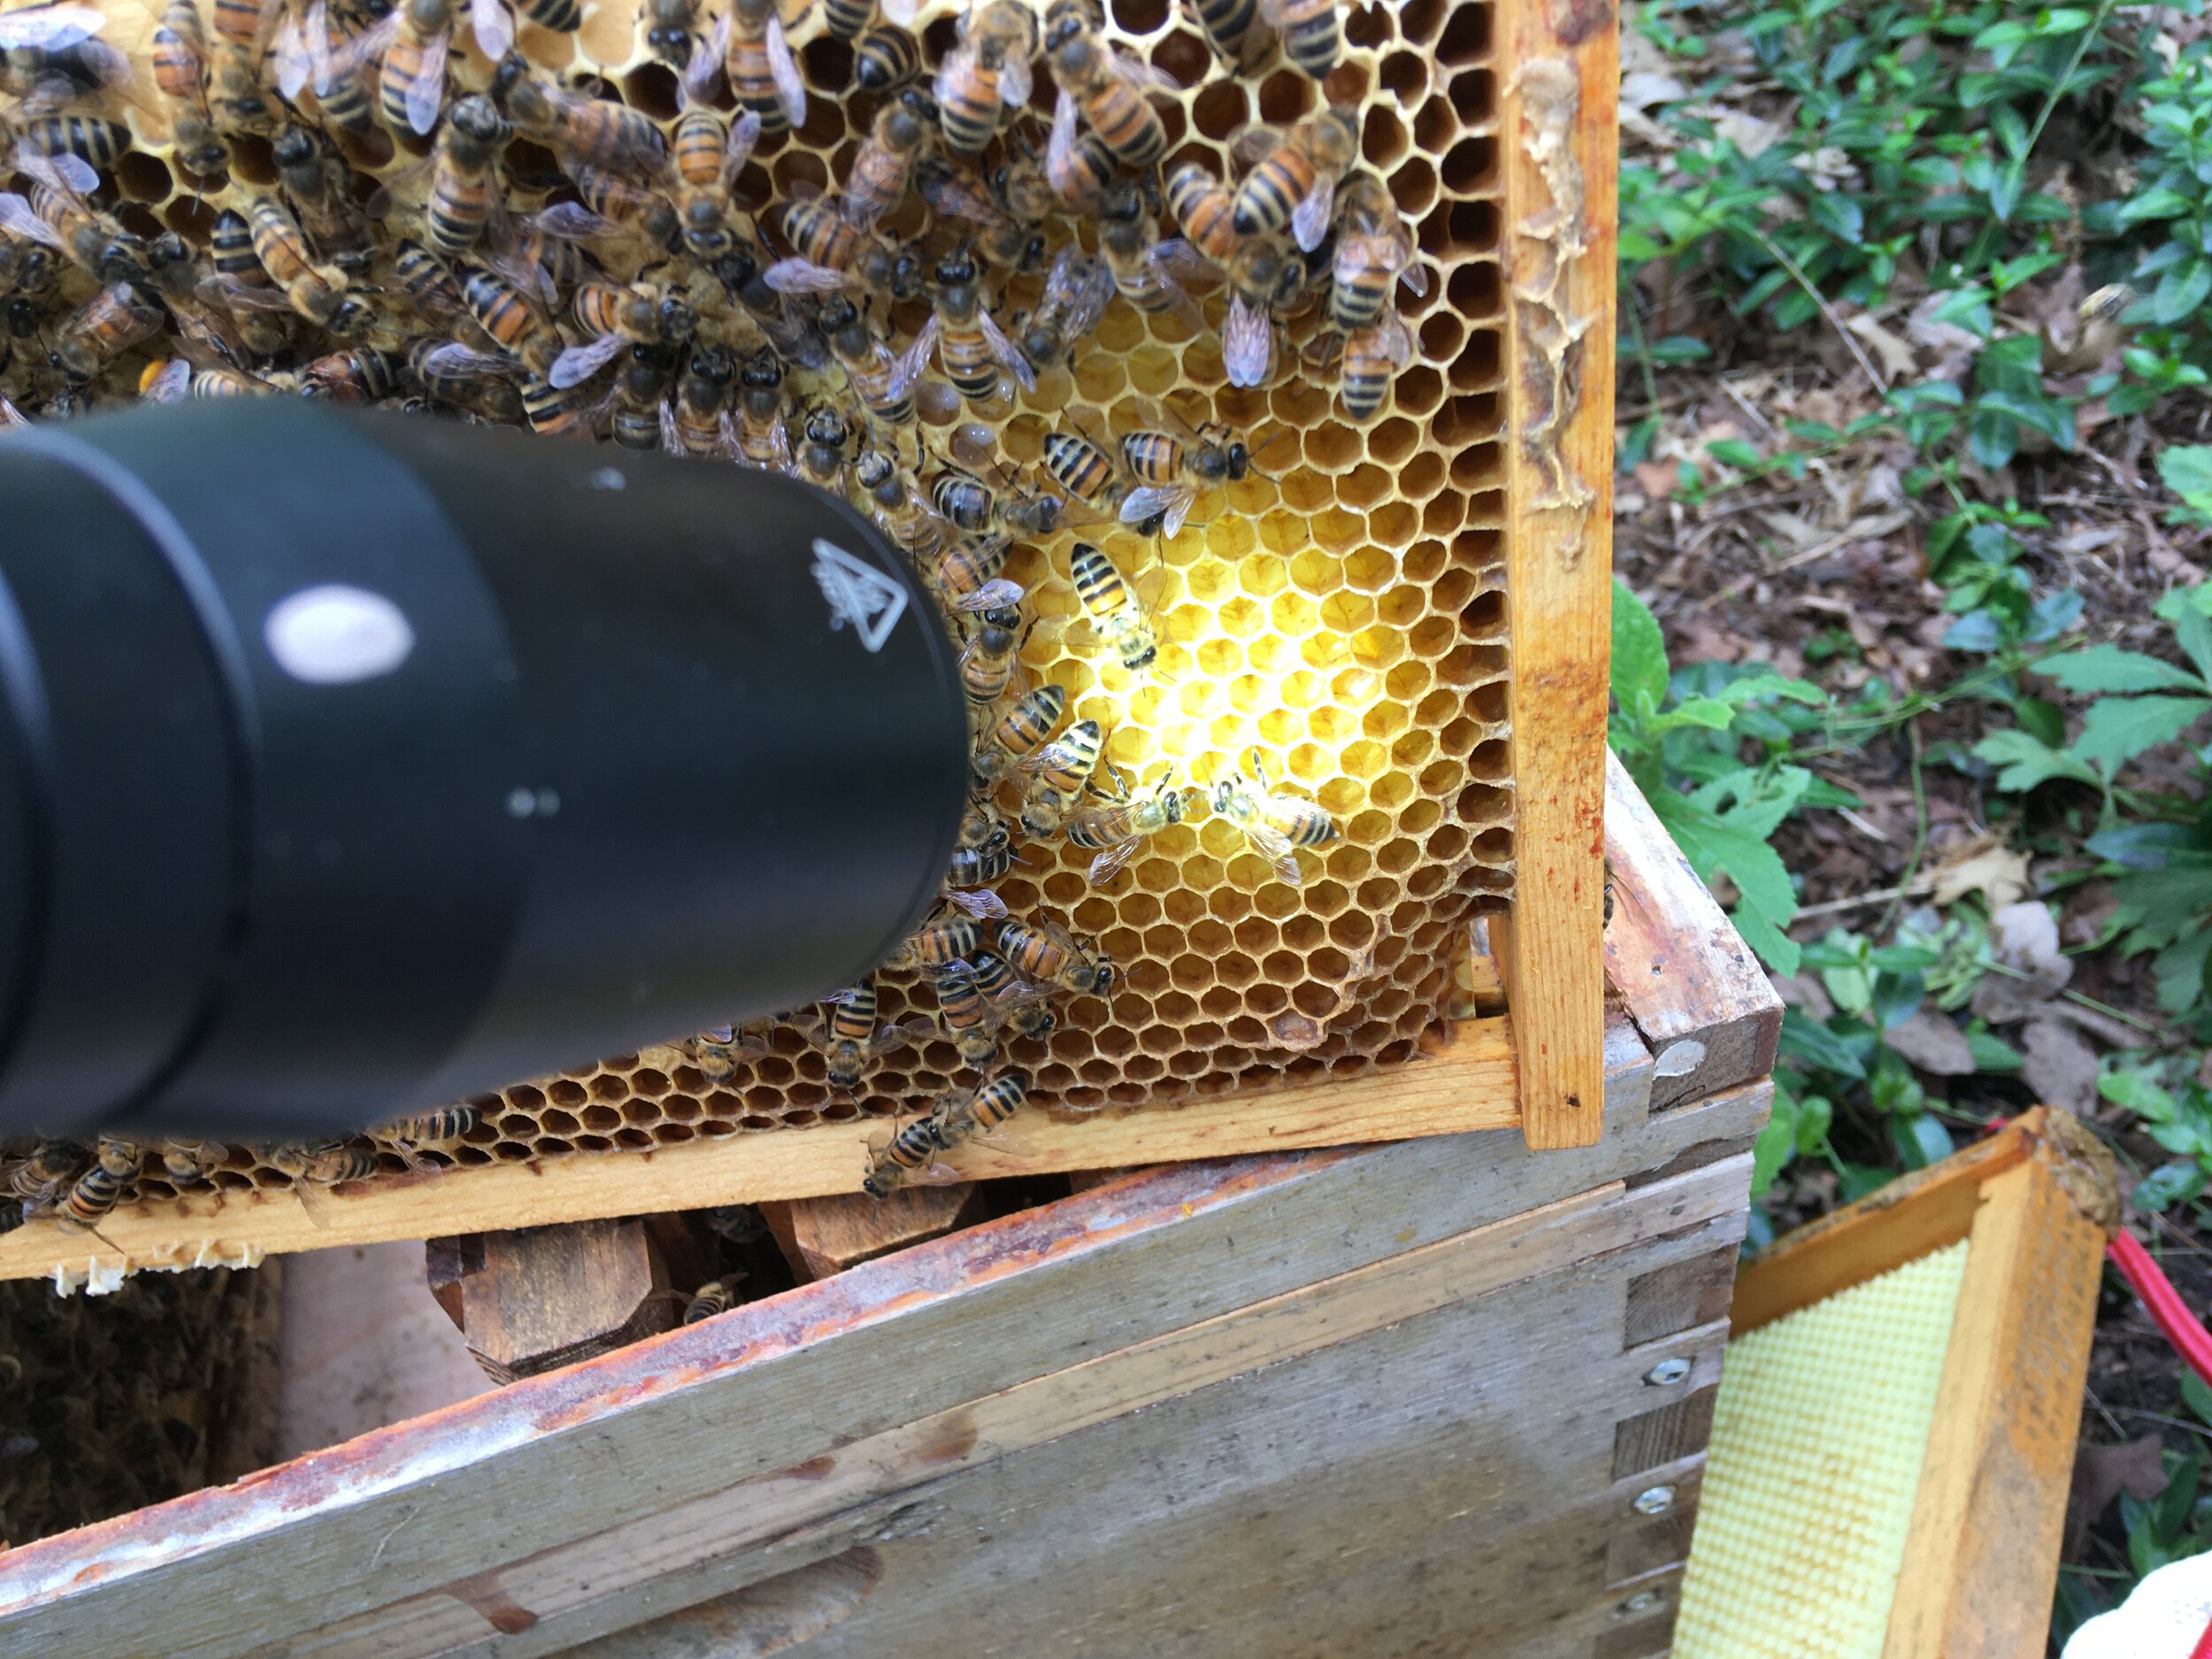
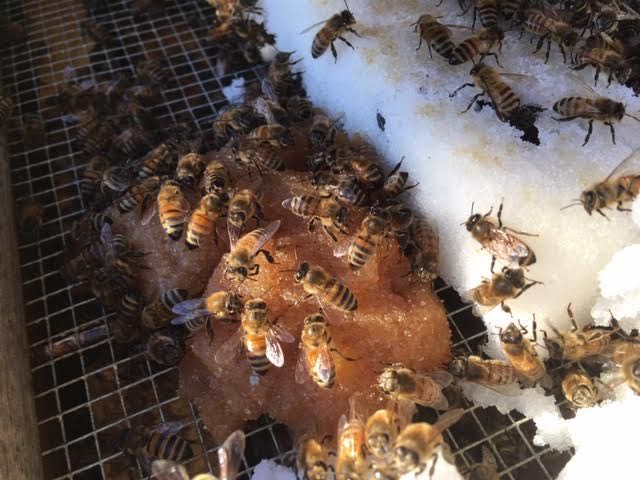
So let’s take a look at a few of my hives and what I found under the inner cover when I inspected them on a sunny day that was 67F in early January 2019. I am located in mid-Missouri.

What do you find in your quick winter hive inspections under the inner cover? (Photo by Charlotte Ekker Wiggins)
This is a second year queen that went into winter with very strong colony numbers. All colonies were treated with formic acid strips end of August to knock down varroa mite numbers going into winter. I treated because my varroa mite count was 10 mites per hundred when voluntarily tested by the state and analyzed by the USDA Bee lab in Maryland.

This colony has once again finished their winter protein patty. (Photo by Charlotte Ekker Wiggins)
Even with replenished honey frames, my colonies seem to gravitate to the top of the hive on warm days.
This particular colony was like the rest, the colony had consumed the winter pollen patty so I replaced it.

Another winter protein patty quickly added before I closed up the hive. (Photo by Charlotte Ekker Wiggins)
Here’s another hive check. This colony is in its third year and also had finished their winter pollen patty so I added another one.

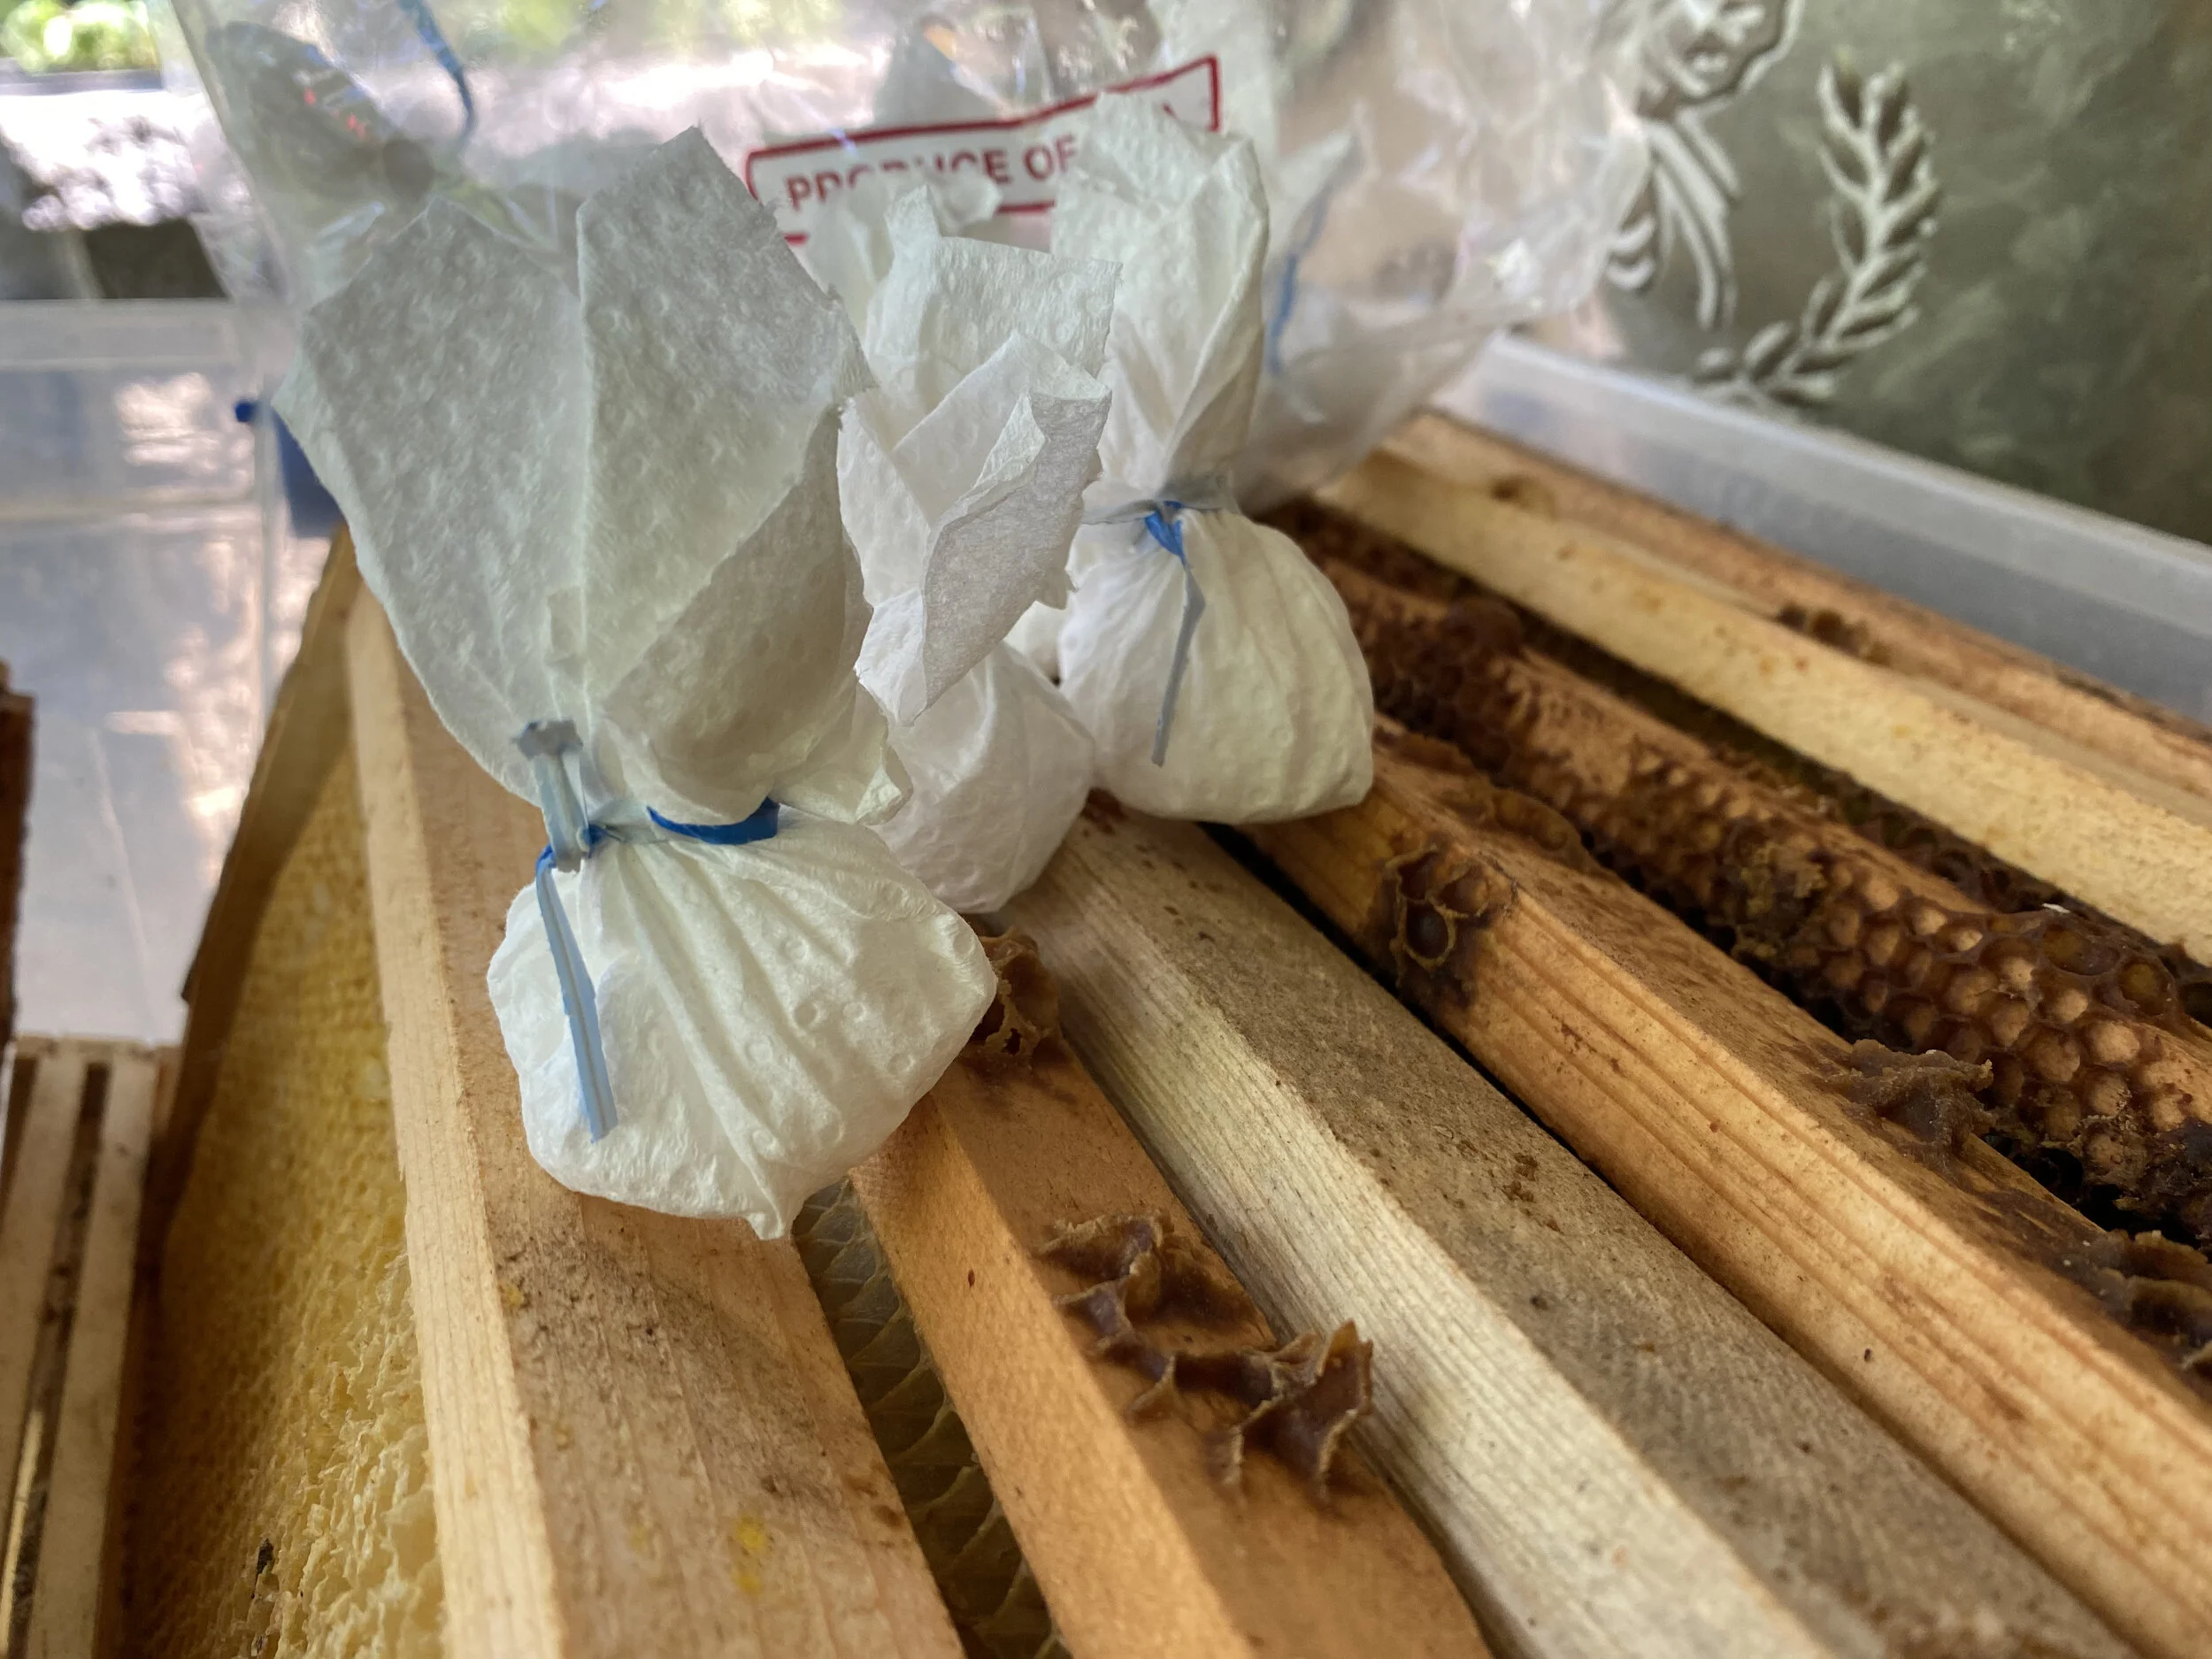
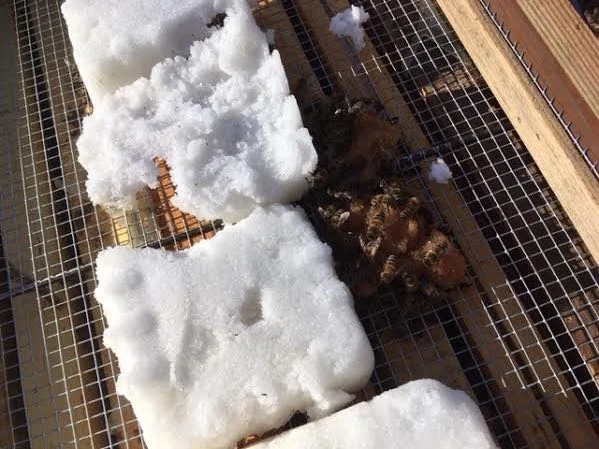
Homemade sugar cakes with winter pollen patties. (Photo by Charlotte Ekker Wiggins)
I make my own sugar cakes and now add Honey Bee Healthy to the mix in early winter, and pollen substitute for the sugar cakes I add to the colonies in January and February. Here is the recipe:
Charlotte's Bee Winter Sugar Patties Recipe
5 lbs or 11 1/4 cups sugar
7 1/2 ounces of water (make sure it's exact)
1 teaspoon white distilled vinegar (don't use apple cider vinegar, attracts small hive beetles)
1 tsp Honey Bee Healthy
For January-Feb use, I will add
1/4 cup Bee Pro protein to each batch
Add Honey Bee Healthy and vinegar to measuring cup; then add water to 7 1/2 ounces. Mix well. Spread in bread pans and re-used fruit clam shells.
Leave overnight in cold oven to dry out. Once top is dry, remove and turn over on a cookie sheet to let the bottom dry out for a couple of days. If you end up with still moist patties, re-mix and add a little more sugar, then dry again.
If you don't need to use immediately, store in sealed plastic container.
Sugar patties not only provide supplemental feeding but also help to keep moisture out of the hives.
Now to yet another colony check, this one the smallest colony with a first year queen.
Smallest colony is also consuming winter protein patties. (Photo by Charlotte Ekker Wiggins)
As beekeepers, especially ones who keep bees for honey, it’s easy to focus just on the carbs or sugar. For a colony to be healthy, however, and be able to collect flower nectar as both flight fuel and winter food storage, or honey, they need to be healthy and that means they first need pollen, which is protein.
I will be interested to see how my colony numbers are coming out of this relatively mild winter with the colonies getting both the nectar-substitute in the form of sugar cakes as well as protein patties.

These are the size of the protein patties I shape for each colony. (Photo by Charlotte Ekker Wiggins)
Since small hive beetles also winter over inside the colony cluster, I keep my winter pollen patties small, about the size of the palm of my hand. The larger colonies may get two pollen patties, one each on the edge of the cluster and I checked the pollen patty bottoms to make sure there are no small hive beetle larvae getting established.
Do you feed your bees both sugar and protein pollen during winter feeding?
Charlotte
For more tips on gardening, beekeeping, cooking and easy home decor, subscribe to my weekly Garden Notes.