Bucket Stool
/
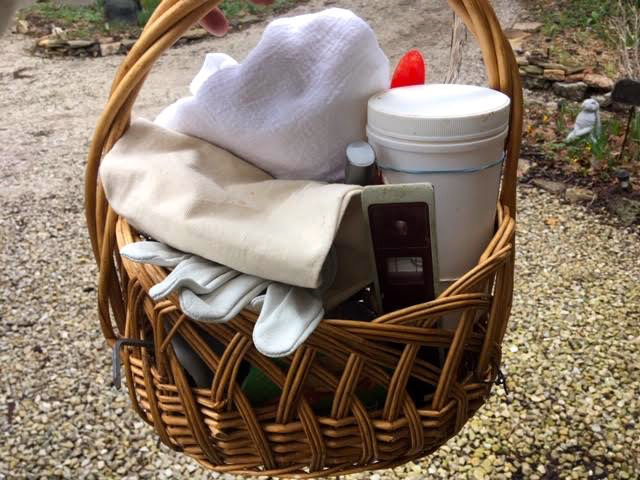
Now I have a safe place to haul my smoker, this metal recycled pail. (Photo by Charlotte Ekker Wiggins)
Bucket Stool
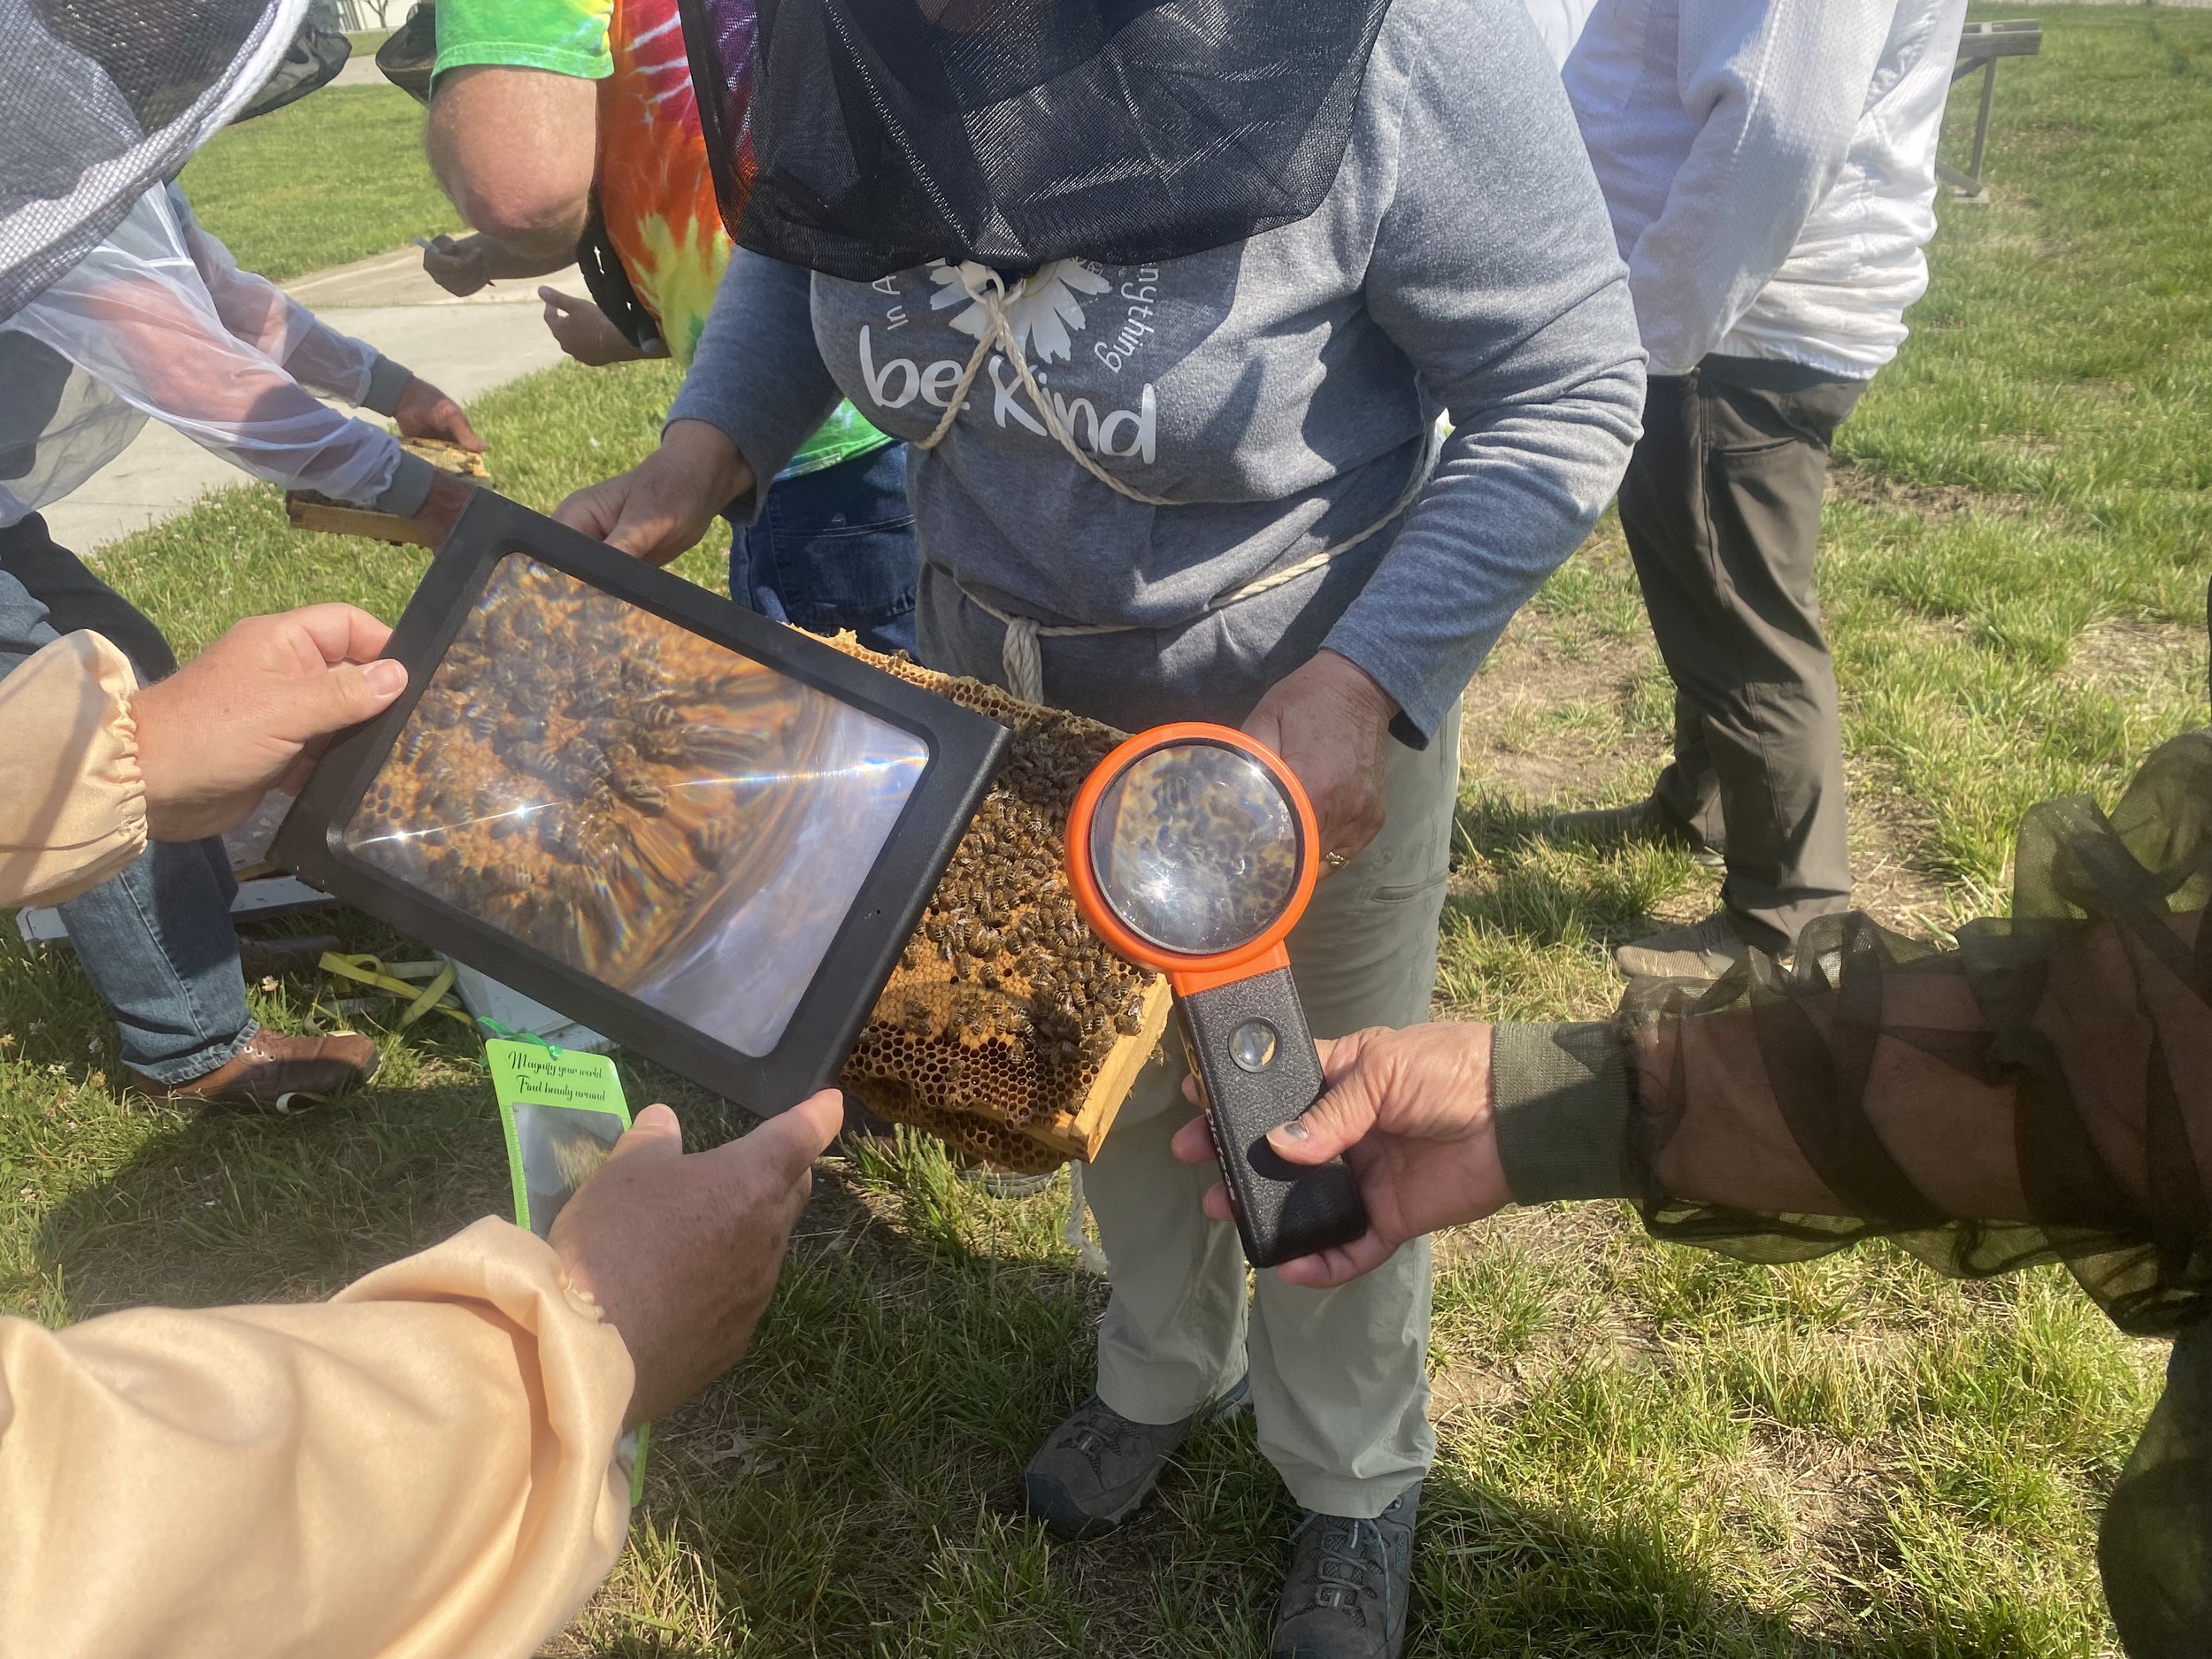
I’m back from Missouri State Beekeepers Association fall conference in Moberly, a great opportunity to meet beekeepers from around the state, update my beekeeping knowledge and go shopping. Every beekeeping conference features a number of vendors who bring the latest beekeeping, and sometimes cooking, tools although I have yet to see something as cute as our Honeybees Dish Towel sets.
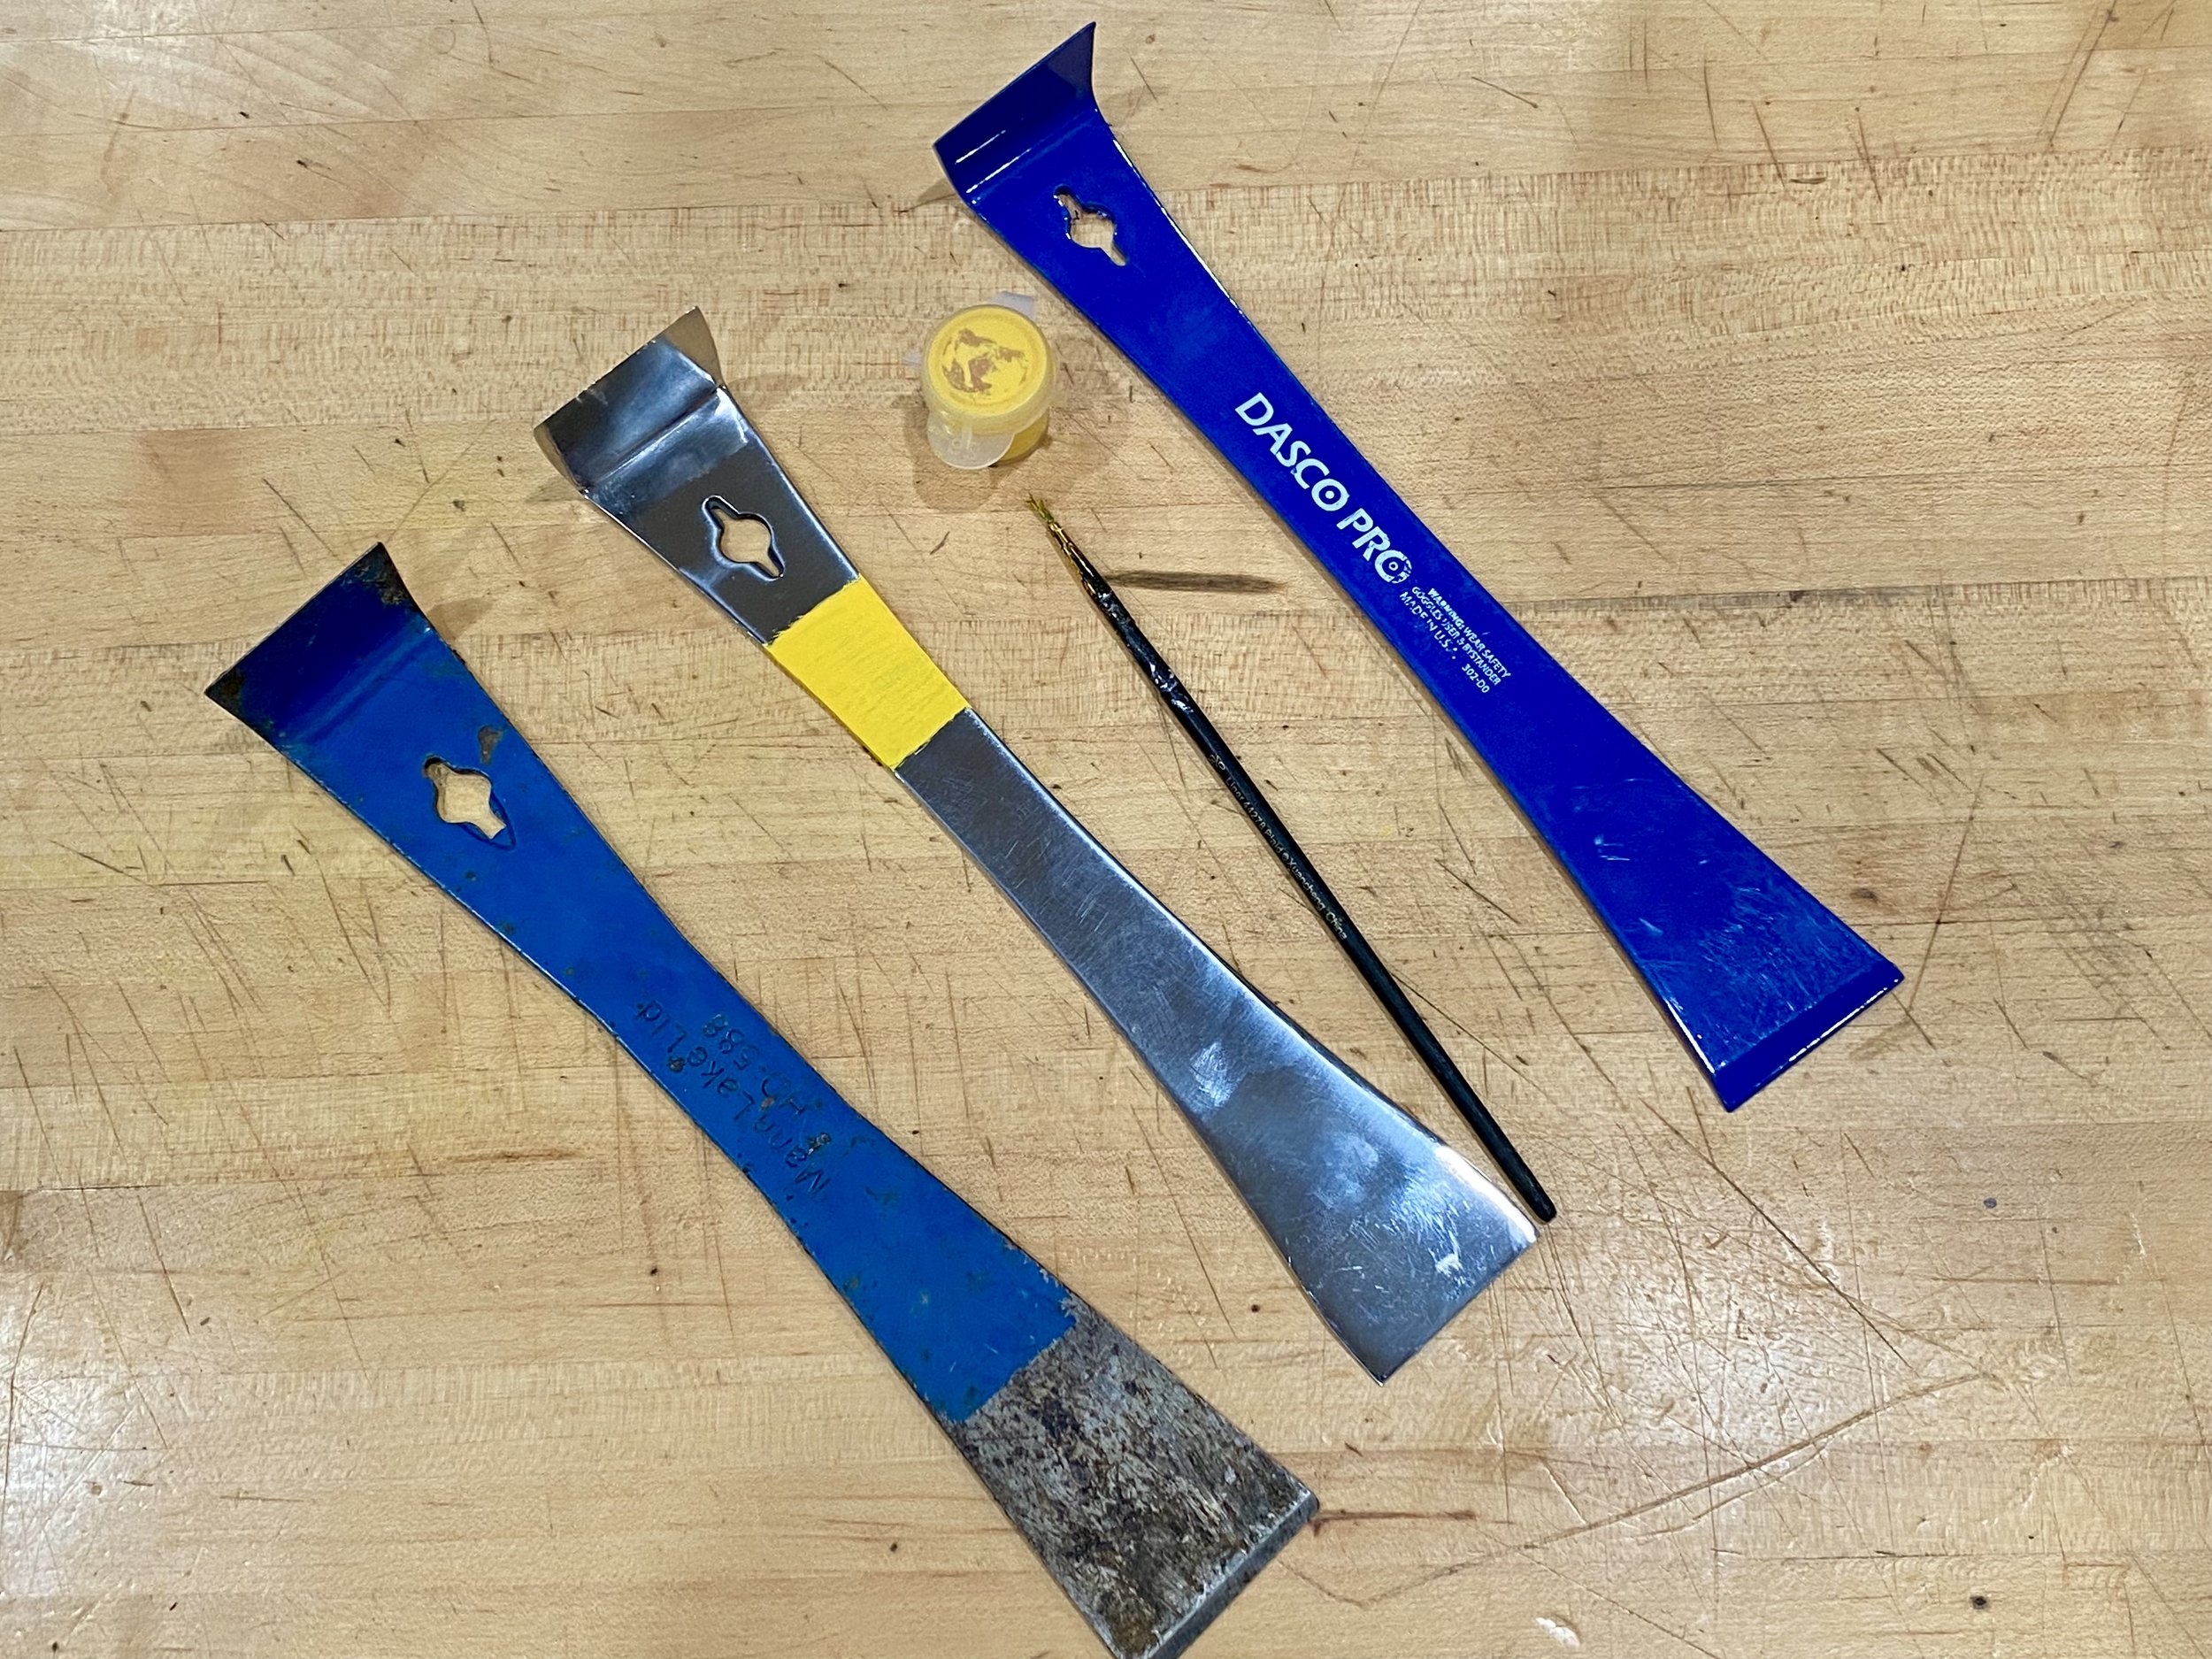
The reason I bring up cooking is that one of our beekeeping students was also shopping and a vendor mistook her for a spouse, trying to sell her a bundt pan instead of the multipurpose hive tool that had caught her eye. Yes, beekeeping may still be primarily a male hobby but there are a few of us ladies who enjoy it, too.
This year I was enticed to bring something not quite brand new home. It is a metal bucket the same size as my plastic 5 gallon paint buckets with a handy lid that turns into a stool. The metal bucket makes it safer for me to carry a hot smoker around the apiary without fear that it’s going to roll down my limestone hillside and the bucket stool doubles as a lid.
The metal bucket was repurposed, which to me was even better. Crooked Hills Beekeeping also added a tool skirt with pockets for beekeeping tools.
After a little remedial training, I learned how to edge the bucket stool upside down on top of the bucket to use it as a lid.

The bucket stool turns my bucket into a garden seat. (Photo by Charlotte Ekker Wiggins)
Beekeepers are engineers at heart, quite resourceful when it comes to making equipment they need. This is a perfect example of that ingenuity and one I plan to enjoy for many years to come!
Charlotte